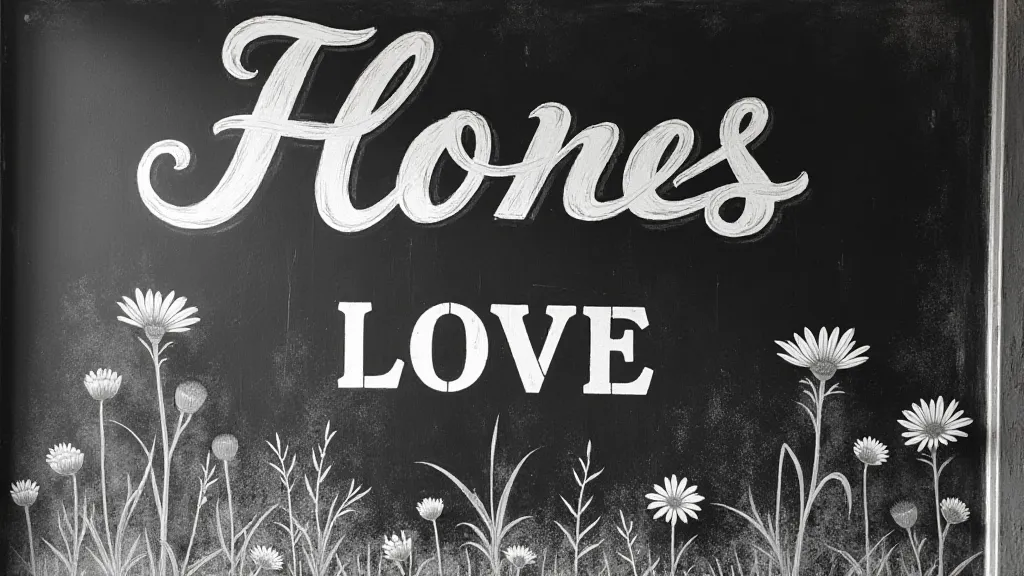
The Obsidian Bloom: Creating Depth and Dimension Through Chalkboard Shading
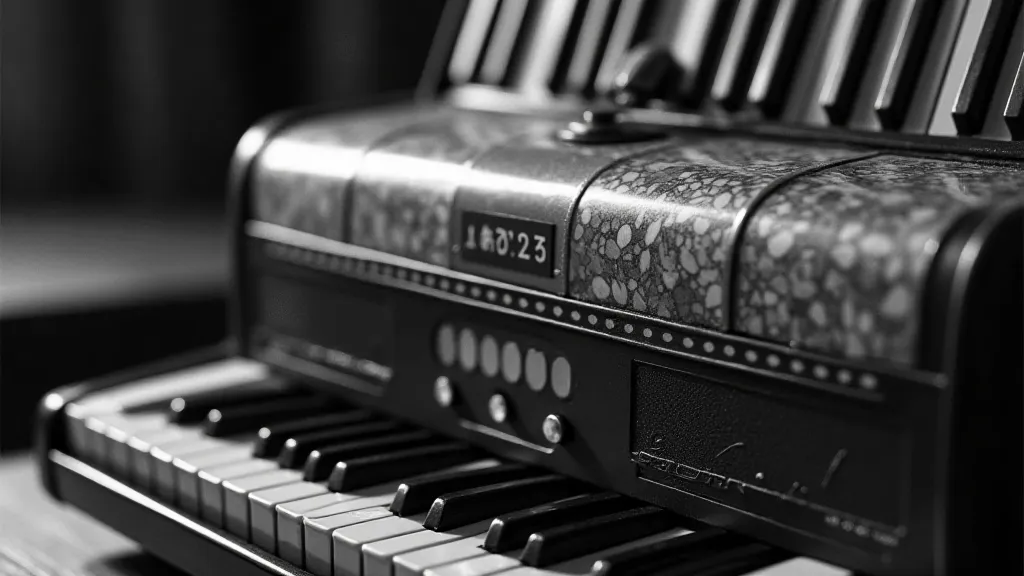
There’s a quiet melancholy that clings to antique accordions. A sense of stories held within, of laughter and tears echoing through concert halls, of hands now stilled. My grandfather, a travelling musician in his youth, owned one – a Hohner Erica, its bellows faded to a dusty rose. I remember, as a child, being mesmerized not just by the sound it produced, but by the intricate carvings on its mother-of-pearl panels. Each tiny detail spoke of a devotion to craftsmanship, a level of care seldom seen in modern production. That reverence for meticulous detail, for bringing form and life to something seemingly static, is what I find so compelling about chalkboard art, and particularly, the art of shading.
Shading, in any art form, isn't merely about adding darkness; it's about creating the illusion of three dimensions on a two-dimensional surface. It’s the equivalent of light reflecting off the polished keys of my grandfather’s accordion, highlighting the curves and shadows, revealing the depth and complexity of its construction. Without it, chalkboard lettering, however beautifully rendered, remains flat and lifeless. It lacks the breath of reality.
The Historical Roots of Shading in Chalkboard Art
The tradition of chalkboard art is deeply entwined with the history of public communication and advertising. Think of bustling town squares in the 19th century, where chalkboards were the primary means of announcing events, promoting goods, and sharing news. The most effective of these signs weren’t just legible; they were captivating. Early chalkboard artists understood intuitively that shading – even simple cross-hatching – could elevate a simple message into something visually arresting. They were not just communicating; they were entertaining. Think of travelling medicine shows, their chalkboards a riot of color and exaggerated form, all rendered with skillful, if rudimentary, shading techniques. It wasn't about photographic realism; it was about conveying feeling and attracting attention.
The techniques used then were born of necessity and limited resources. There were no sophisticated blending tools; artists relied on their fingers, rags, and the subtle pressure they applied with their chalk. The resulting textures are often rough and expressive, and in many ways, this contributes to the charm of vintage chalkboard art. Trying to replicate that aesthetic intentionally can be a rewarding challenge, offering a unique sense of authenticity.
Understanding Light and Shadow
Before you even pick up a piece of chalk, it’s vital to understand the fundamentals of light and shadow. Imagine a single light source – let's say, a spotlight illuminating a simple sphere. The area directly facing the light will be the brightest – the highlight. As the surface curves away from the light, it gradually darkens, creating a gradient of tones. The darkest area, opposite the light source, is the shadow. A narrow band of lighter gray, known as the reflected light, often appears within the shadow – this is light bouncing off surrounding surfaces and illuminating the shadowed area. Finally, the cast shadow is the area darkened by the object blocking the light.
The beauty of chalkboard art lies in its simplicity. You don’t need to be a master of anatomical drawing to create a convincing sense of volume. A careful observation of how light falls on everyday objects – an apple, a coffee mug, a folded piece of paper – can provide invaluable insights into how to apply shading techniques to your lettering.
Basic Chalkboard Shading Techniques
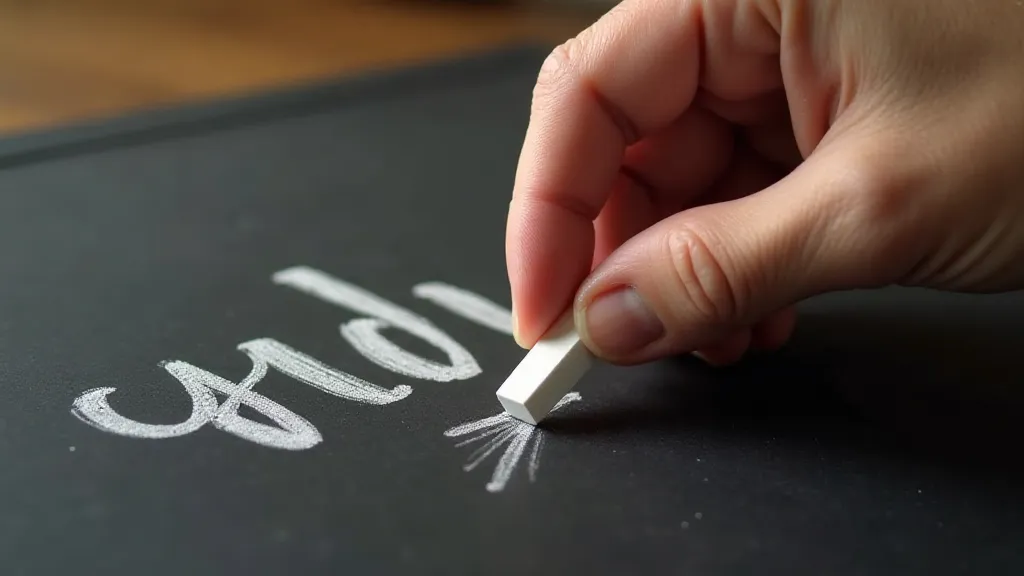
Let’s break down some fundamental techniques. First, consider the ‘gradient’ technique. This involves slowly transitioning between light and dark by varying the pressure you apply to the chalk. Lighter pressure creates lighter tones; heavier pressure, darker tones. Practicing gradient transitions on a small test area is crucial. Don’t rush; take your time to achieve a smooth, gradual change in value.
Next, there’s the ‘stippling’ technique – creating tones using dots. The closer the dots, the darker the area; the further apart, the lighter. This technique is particularly effective for creating textures and subtle gradations. It requires patience and a steady hand, but the results can be quite striking. Think of the way water reflects light; it's often rendered through variations in density of dots.
‘Hatching’ involves creating parallel lines to create tone. The closer the lines, the darker the area. Cross-hatching, simply put, is using multiple layers of hatching at different angles to build up even darker tones. This is a powerful technique for adding depth and complexity to your chalkboard lettering, and it can evoke the textures of aged wood or weathered metal.
Advanced Shading for Realism
Once you’re comfortable with the basics, you can start experimenting with more advanced techniques. ‘Blending’ – using a soft cloth or your finger to smooth out the chalk – is essential for achieving a more realistic look. Be careful not to over-blend, as this can create a muddy appearance. The key is to maintain the texture of the chalk while softening the transitions between tones.
Consider using multiple colors of chalk to create more complex shading effects. For example, a touch of blue chalk can add depth and coolness to a shaded area, while a touch of orange can add warmth and vibrancy. Layering is key. Start with lighter shades and gradually build up to darker tones. Don’t be afraid to experiment; there are no hard and fast rules.
Restoration and Appreciation
Just as restoring an antique accordion requires a delicate touch and a deep appreciation for its history, so too does creating compelling chalkboard art. Recognizing the imperfections, the subtle variations in tone, the inherent texture of the medium – that's what transforms a mere sign into a work of art. Appreciating the craftsmanship, understanding the context, and striving for authenticity – these are the elements that elevate chalkboard art beyond simple communication.
My grandfather’s accordion sits now in my study, a constant reminder of the beauty of craftsmanship and the power of simple tools. It's a reminder that even the most ordinary objects can hold extraordinary stories, and that a little bit of shading, a little bit of attention to detail, can bring those stories to life.